
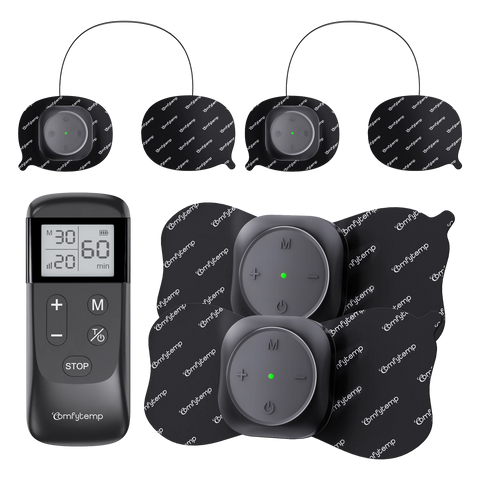
COMFYTEMP · K6182020 TFT SCREEN · PAD GUIDE
The TENS unit that shows you where to start

Placement guidance,
right on the screen

K6182020 puts a color TFT screen with body-area and pad-placement guidance in your hand, then adds adjustable heat to the same electrode. 24 modes, 40 intensity levels, 3 heat settings and two independent channels — set in three clear steps.

Shop K6182020 → Free US shipping · 30-day returns · FSA/HSA eligible
3 steps
Guided on-screen setup
24 + 40
Modes & intensity levels
2500 mAh
USB-C rechargeable battery
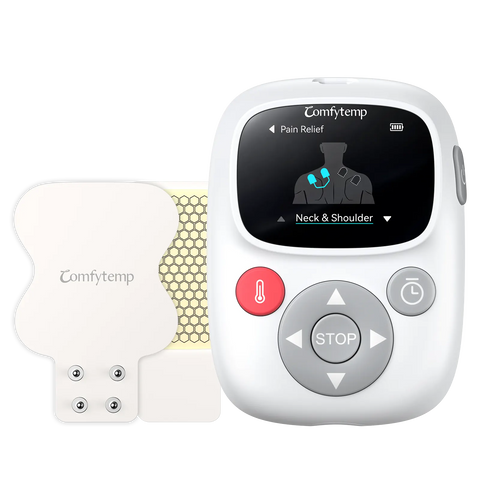
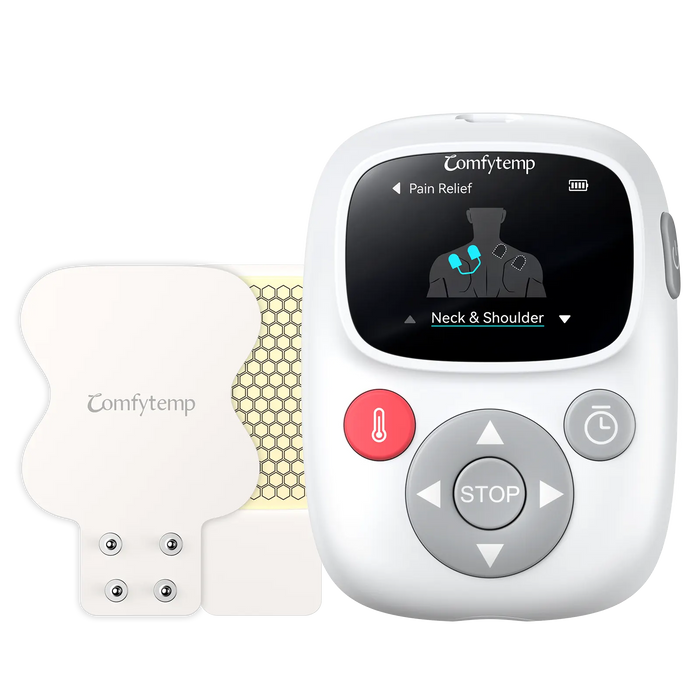
Comfytemp K6182020 white TENS unit with heat: black TFT color screen showing a neck and shoulder pad-placement diagram, red heat key, oversized stop button and reusable electrode pads
What we kept hearing

Four things people wanted from a session

Before we built K6182020, we looked at how people actually get started with a stimulation unit at home. The same four wishes came up again and again.

Where do the pads go?
A diagram beats a paragraph. People wanted to see the body area and the pad positions, not guess from a manual.
Which setting do I start with?
24 modes and 40 levels are useful only if the path through them is obvious.
Can I read it at a glance?
Tiny labels and closely spaced buttons make a simple change take longer than it should.
Can warmth join the same session?
A pad that stimulates and warms the same spot saves setting up a second device.
Why we built the guide in

From guessing to a three-step setup

The screen walks through session type, body area, then intensity and heat — showing the pad positions for the area you picked, with a carbon-film heating layer inside the electrode itself.

A basic stimulation unit
  • Stimulation only, from a single system
  • Text menus with no placement diagram
  • Small displays and closely spaced buttons
  • Warmth handled as a separate product
K6182020 · Guided Heat + TENS
  • Color TFT screen with body-area and pad-placement guidance
  • Three steps: session, body area, then intensity and heat
  • 24 modes, 40 intensities, 3 heat levels, dual channels
  • Carbon-film heating layer built into the electrode pad
Comfytemp K6182020 three-step on-screen setup: choose a session, select a body area, then choose intensity and heat

Three steps, on the screen

Choose a session, select a body area, then set intensity and heat. The screen shows the pad positions for the area you picked, so setup follows a sequence rather than a settings list.

Hand holding the white Comfytemp K6182020 TENS unit showing its color TFT screen, built-in timer, heat level control and one-touch stop

A display made to be read

The color TFT screen keeps intensity, heat level and session time in plain sight. A dedicated heat key, timer key and one-touch STOP sit below it, all large enough to find without looking twice.

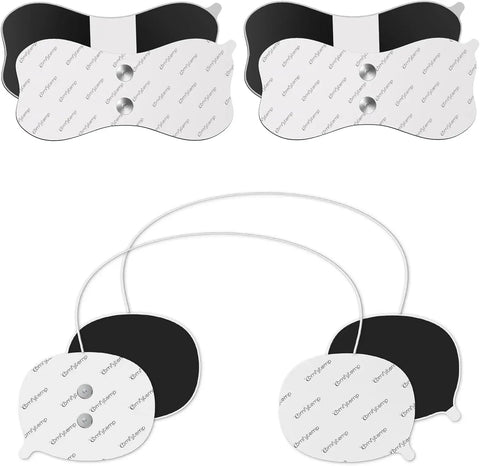
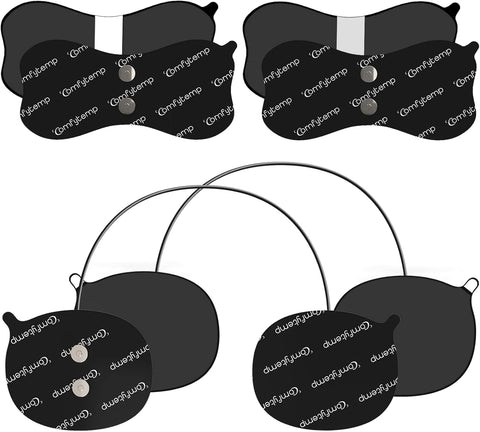
Exploded diagram of the reusable Comfytemp electrode pad showing the comfort foam, carbon-film heating, protective backing and replaceable hydrogel layers

Replace the gel, keep the pad

Four layers do four jobs. When the skin-contact hydrogel wears out, that is the part you replace — the foam, heating film and backing stay in service.

What is inside

The details, plainly stated

1
Color TFT screen with placement guidance
Body-area diagrams and pad positions are shown on the unit itself, alongside a three-step setup.
2
24 modes · 40 intensity levels
Small steps rather than big jumps, so each channel can be set to its own level.
3
3 heat settings
Warmth is set on its own button and can be added to a session or left out entirely.
4
Independent dual channels
Two areas can be set separately — an arm and a knee, for example — in the same session.
5
2500 mAh USB-C rechargeable
Rechargeable rather than disposable, with the battery level shown on the display.
6
Built-in timer and one-touch stop
Set the session time on the screen; a dedicated STOP button ends it immediately.
Layer 01
Comfort foam support
A soft body that lets the pad sit flat against the skin.
Layer 02
Carbon-film heating
The heat source, built into the pad rather than added on top.
Layer 03
Protective backing
Holds the layers together and keeps them in shape through repeated use.
Layer 04
Replaceable hydrogel
The skin-contact surface — the one layer designed to be swapped.

This page describes product features and settings, not medical outcomes. Follow the placement and usage guidance in the user manual and on the product page.

A day with K6182020

From the morning desk to the evening sofa

One unit, a few different settings. Here is a suggested routine showing how the guided setup, the two channels and the heat control can be combined — adjust it to whatever suits your day.

01
08:30
Before the desk
Guided setup · Heat 1
Pick a session and a body area on the screen, then follow the pad positions it shows.
02
12:30
Lunch break
Dual channel · Heat 2
Two areas at once, each with its own level, while you take a proper break.
03
16:00
Afternoon reset
Intensity 08 · Heat off
Stimulation on its own. Heat has its own button, so it stays out of this session.
04
21:00
On the sofa
30 min timer · Heat 1
Set the timer on the display; one-touch stop ends it whenever you are ready.

Timings above are illustrative. Follow the usage guidance in the user manual and on the product page.

Why we built it this way

Designed around how you use it

Three decisions behind K6182020, and the thinking behind each one.

Why put the placement guide on the screen?
A manual is easy to misread and easy to lose. Showing the body area and the pad positions on the unit itself keeps the guidance where the settings are, so setup becomes a sequence instead of a search through printed diagrams.
Guidance where you need it
Why three steps?
Session, body area, then intensity and heat. That fixed order makes 24 modes and 40 levels approachable: you make one decision at a time rather than facing a full settings list on the first day.
One decision at a time
Why a separate heat button?
Warmth should be a choice, not a side effect. Keeping heat on its own control means you can add it, change it or leave it off without disturbing the stimulation settings you already chose.
Independent by design
Why Comfytemp

What stands behind it

Not claims about what our products do to your body. Just the things we can prove: how long we have been here, who uses us, and what we do if something goes wrong.

Building since 2020
Six product families across heating, red light, TENS, air compression and cooling. One design rule throughout.
500,000+ households
Devices used in living rooms, dorm rooms and offices — by people, not in clinics.
1-year warranty
365 days against manufacturing defects. If a unit fails we replace it, we do not ask you to repair it.
Documents on request
Product documents and compliance certificates are available from our support team on request.
PressFeature placements in home & lifestyle outlets Creators2,000+ collaborators since 2020 CommunityPhoto wall and customer stories
After you order

What happens next, stated plainly

365 days
Warranty
Covered against manufacturing defects. Replacement, not repair.
30 days
Returns
Not for you? Send it back within 30 days, no explanation required.
1–3 days
US shipping
Ships from US warehouses. Tracking the same day it leaves.
1 day
Support reply
A person, within one business day. Not a bot, not a forum.

Warranty and returns follow the terms published on our policy pages. Nothing on this page is a promise about how a product will affect your body — it is a promise about how we will stand behind you if something goes wrong.

Questions, answered

Before you decide

What makes this different from a standard TENS unit?
The color TFT screen. It shows body-area diagrams and pad positions, then walks through a three-step setup — session, body area, intensity and heat — before you start.
What exactly does the pad-placement guide show?
A body-area silhouette with the electrode positions marked on it, plus the name of the selected area. The official product imagery shows neck and shoulder among the on-screen options.
Is the screen in color?
Yes. It is a TFT color screen with a highlighted selection bar, and it displays intensity, heat level, session time and battery status along with the placement diagram.
How many modes, levels and heat settings are there?
24 stimulation modes, 40 intensity levels and 3 heat settings. Heat is set on its own button, so it can be added to a session or left out entirely.
Can heat and stimulation run at the same time?
Yes. A carbon-film heating layer sits inside the electrode pad, so warmth and stimulation reach the same area together. Each has its own controls.
What are the dual channels for?
Two independent channels can be set separately, so two areas — an arm and a knee, for example — can be used in the same session at their own intensity levels.
Is there a timer?
Yes, a built-in timer is set on the display; the official product imagery shows a 30-minute session on screen. A dedicated one-touch STOP button ends a session immediately.
How is it powered?
A built-in 2500 mAh rechargeable battery, charged over USB-C. The battery level is shown on the display, so you can see where you stand before starting a session.
Do I replace the whole pad when the gel wears out?
The pad has four layers: a comfort foam support layer, a carbon-film heating layer, a protective backing layer and a replaceable hydrogel layer. Only the skin-contact hydrogel is designed to be swapped; check the product page for current replacement options.
Is it straightforward for someone new to this kind of device?
That was a design priority. The guided three-step setup, large color display, oversized buttons and one-touch stop keep each decision visible and simple.
Does it need an app or a subscription?
Neither. Mode, intensity, heat and timer are all controlled by the buttons on the device — no pairing, no account, nothing recurring to pay for.
Is it FSA or HSA eligible?
The K6182020 listing is FSA/HSA eligible. Your plan's own rules apply to how it is submitted.
Where are the pads shown being used?
Our product imagery shows the pads on the back, shoulders, arms, wrists and knees. Follow the placement and usage guidance in the user manual for your own setup.
Does this page make medical claims?
No. Everything here describes the product's features, settings and design. For usage guidance, follow the user manual and the product page.
Ready when you are

The screen shows the way,
you set the session

Full specifications, what ships in the box and current availability are on the product page. This page was only ever meant to explain why we made it.

View K6182020 & Shop →

Free US shipping · 30-day returns · 1-year warranty